
How To Sew A Boxed Bottom Book Sleeve
How to Sew a Book Sleeve (Without Losing Your Mind)
If you’ve ever thrown a book into your bag and pulled it out looking like it went through a natural disaster, then my friend, you need a book sleeve. What’s that, you ask? It’s like a cozy little sleeping bag for your books—protecting them from the horrors of the outside world (aka spilled coffee, rogue pens, and the mysterious lint abyss at the bottom of your bag).
This book sleeve differs from most tutorials, as it has a boxed bottom, as in my experience books ain’t flat! Don’t fear - it’s a really simple technique to achieve & once you master it, you’ll be adding a boxed bottom to everything. Plus it has a handy dandy little flap to stop the sucker falling out when it’s in transit!
And the best part? You can make one yourself—even if you’ve never touched a sewing machine before! So, grab your fabric, a pinch of patience, and let’s do this.
What You Will Learn With This Project
Sewing in a straight line, basting, boxed corners, sewing a lining, topstitching

What You’ll Need:
Main Fabric (cotton works great—nothing too stretchy, slippy or drapey, or you’ll end up with a wonky book burrito). For an 8'“ x 5” (20cm x 12½cm) book you’ll need around 12” x 20” (30cm x 50cm) - a fat quarter will be perfect
Lining Fabric (again choose cotton to make life easy) - another fat quarter in the same or contrasting fabric will look lovely
Fusible fleece or batting/wadding 12” x 20” (30cm x 50cm), (for padding—your book deserves the VIP treatment)
Scissors (sharp ones, unless you enjoy frustration)
Velcro (or a button, or snaps - whichever you prefer)
Interfacing - a small scrap approx 5” x 2 ½”
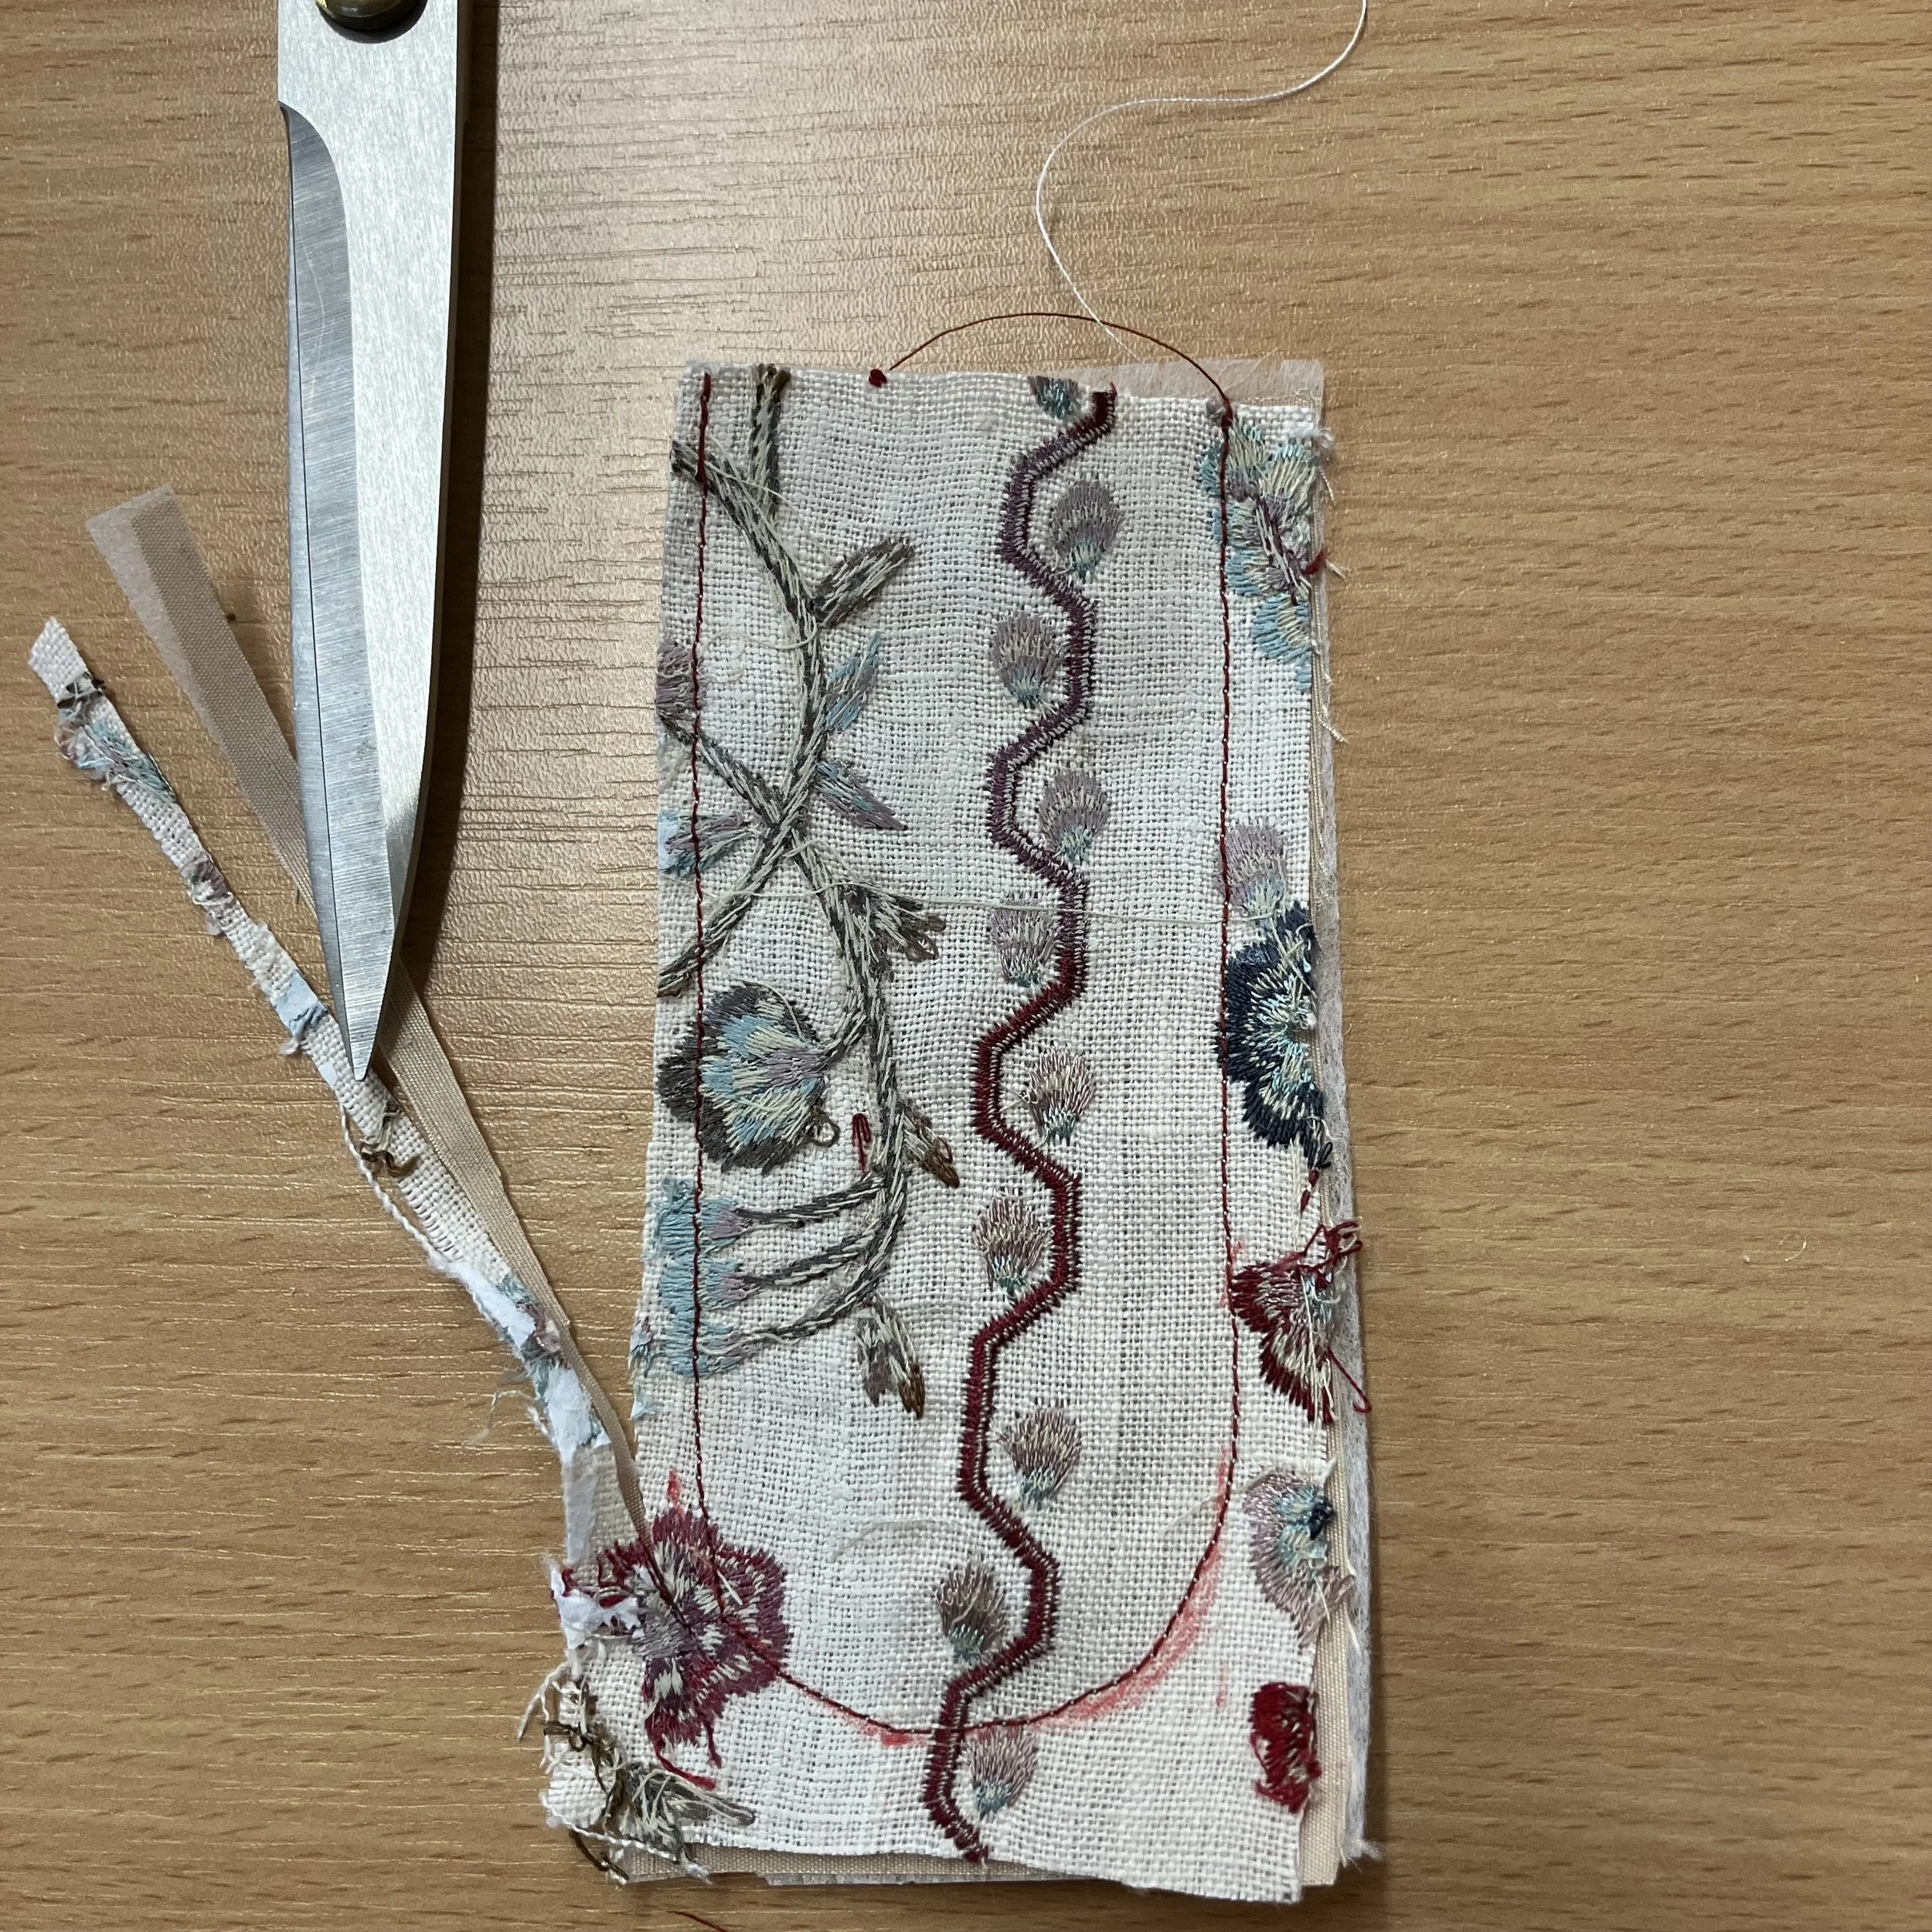
A label is a nice touch but not essential!
A sewing machine (or a needle and thread if you’re feeling extra ambitious)
Thread to match your fabric
Pins or quilters clips
An iron (yes, you actually have to use it)
A book (for size reference, not for reading… yet). My book was 8”x5”
Step 1: Measure Twice, Cut Once
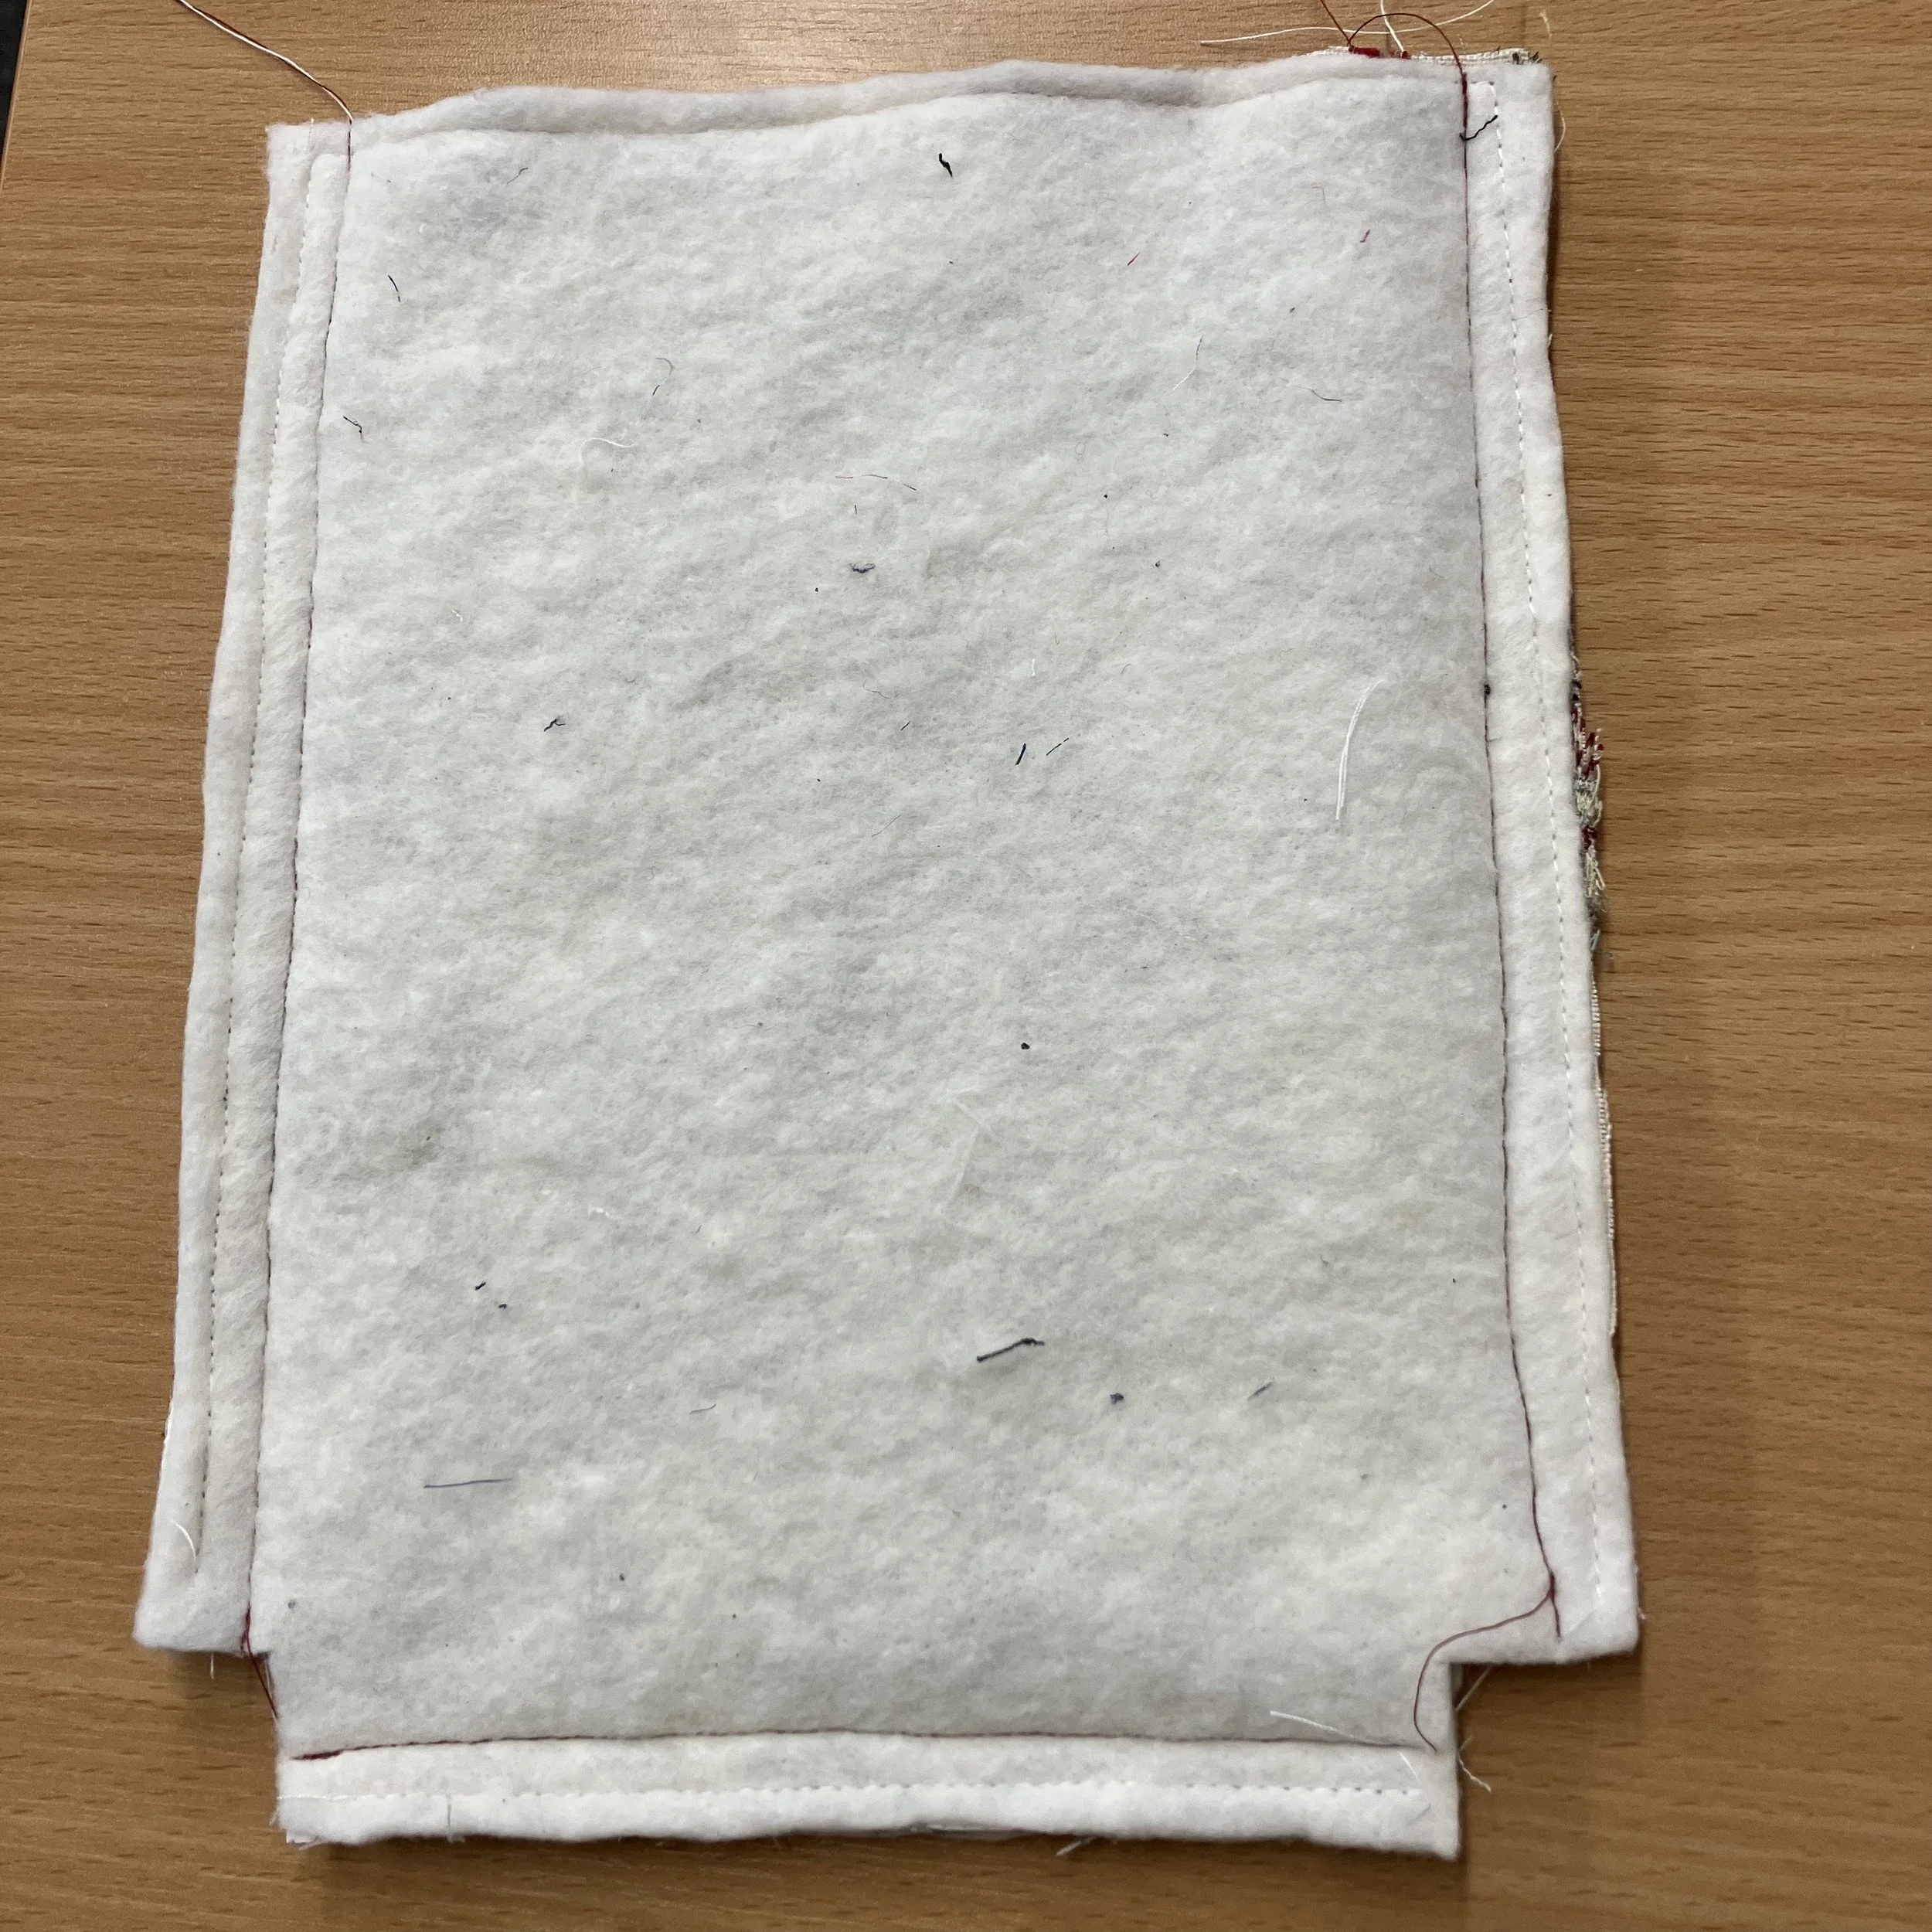
Take your book and measure it . You’ll need fabric pieces that are about 3 inches wider and 2 ½” taller than your book when it’s closed. This allows room for seams and for your book to breathe (books hate tight spaces). Cut two fabric rectangles this size from the main fabric & the lining and do the same with your wadding/fleece. Now cut a 1” (2½cm) square from the bottom corners of all of your fabric & wadding
For reference, my rectangles measured 10½” x 8” for a 8”x5” book
Cut a tab 5” x 2 ½” (12½cm x 6cm) from the main fabric, lining & a scrap of interfacing

Step 2: Preparation Time
Tip: If you are going to use velcro or a snap & add a label now is the time to add them to the front main piece of fabric. For the label you decide where you want it, it’s your project - you can add it anywhere that you like. (I sewed mine into the side seam, so added it at a later stage).
For the velcro - cut both pieces to about 1” (2 ½cm) square & take the hooked side & position it 1” (2 ½cm) down from the top front of the main fabric, ensuring it’s central, (you can measure or just fold the fabric in half). Secure it with a pin or double sided tape if you have some & sew around the edges, in a box shape.
Now place each main piece of fabric on top of a piece of wadding, wrong side of the fabric facing the wadding, ensure that you can see the right side of the fabric & pin in place. (If your fleece is fusible, ensure wrong side of fabric is facing the sticky side of the fleece & simply fuse together according to the instructions, using an iron) TIP: Use a pressing cloth or scrap fabric to protect your iron & fabric

Step 3: Time to Sew
Take a deep breath, channel your inner sewing wizard, and stitch around side edges & bottom with a 1/4"” seam allowance. This is called basting & is simply holding the 2 pieces together.
Step 4: Sew the Main pieces together
Place each main fabric piece, with the attached wadding & place them Right Sides together & pin the sides & bottom in place. (If you’re adding a label into the side seam, place it between the main pieces in the position that you want it). Now stitch around the side edges & bottom only with a 3/8"” seam allowance, If your stitches look wonky—congrats, that’s called character. You are NOT sewing the boxes or the top just yet - leave these unsewn.
Step 5: Press the seams open (No, You Can’t Skip This)
Press the side & bottom seams open. This step will make the next step much easier & give the overall finished product a crisp & professional finish.
Step 6: Sew the Boxed Corners
To create the boxed corners, align one bottom seam with one side seam, so it looks a little like a frogs mouth, pin in place & sew at 3/8” seam allowance - having those seams pressed in the previous step makes the alignment much easier. Trim the seam allowances close to but not through the stitching, to remove bulk. Repeat for the other side.

Step 7: Sew the Lining
Trim 3/8” (1cm) from the top of the lining (the short edge without the boxes cut out) - this is so that your lining will sit nicely inside the sleeve & not peep out.
Now repeat steps 4- 6 BUT leave a gap approx 3-4” (8-10cm)inches in one side of the lining. (It’’s approximately the same width of 4 fingers if you can’t be bothered measuring)

Step 8: Sew the Tab/Flap
Fuse the interfacing onto the small lining piece for the tab & attach the looped sde of the velcro in to it, ensuring that it’s central & around 1” (2 ½ cm from the bottom edge. Sew in place in the same way as you sewed the hooked side, around the edges, in a box, securing in place 1st.
Place the right side of the lining & the right side of the main fabric of the flaps/tabs together. I wanted a curved flap, so drew a curve but you can leave it square too, if you’ve never sewn a curve before. Sew around the sides & bottom at a 3/8” (1cm) seam allowance, leaving the top open to turn it through.
Step 9: Turn through the flap & baste to the back of the sleeve
Trim the seam allowance close to but not through the stitching, (around 1/8”). If your flap is rectangular, snip the triangles at the corners or adding notches around the curve if your flap is curved will reduce bulk & result in a neater finish. Using a point turner, knitting needle, chop stick whatever comes to hand turn the flap through to the right side & give it a good press.
For an extra nice finish, topstitch around the perimiter of the flap. Lengthen your stitch length to 3.5 & sew around 1/8” from the edge of the flap.
Now baste the flap to the back of the sleeve, ensuring it’s central & with the right sides together, secure it in place & sew at 1/4'“ to the top.

Yes the velcro is slightly on the wonk!
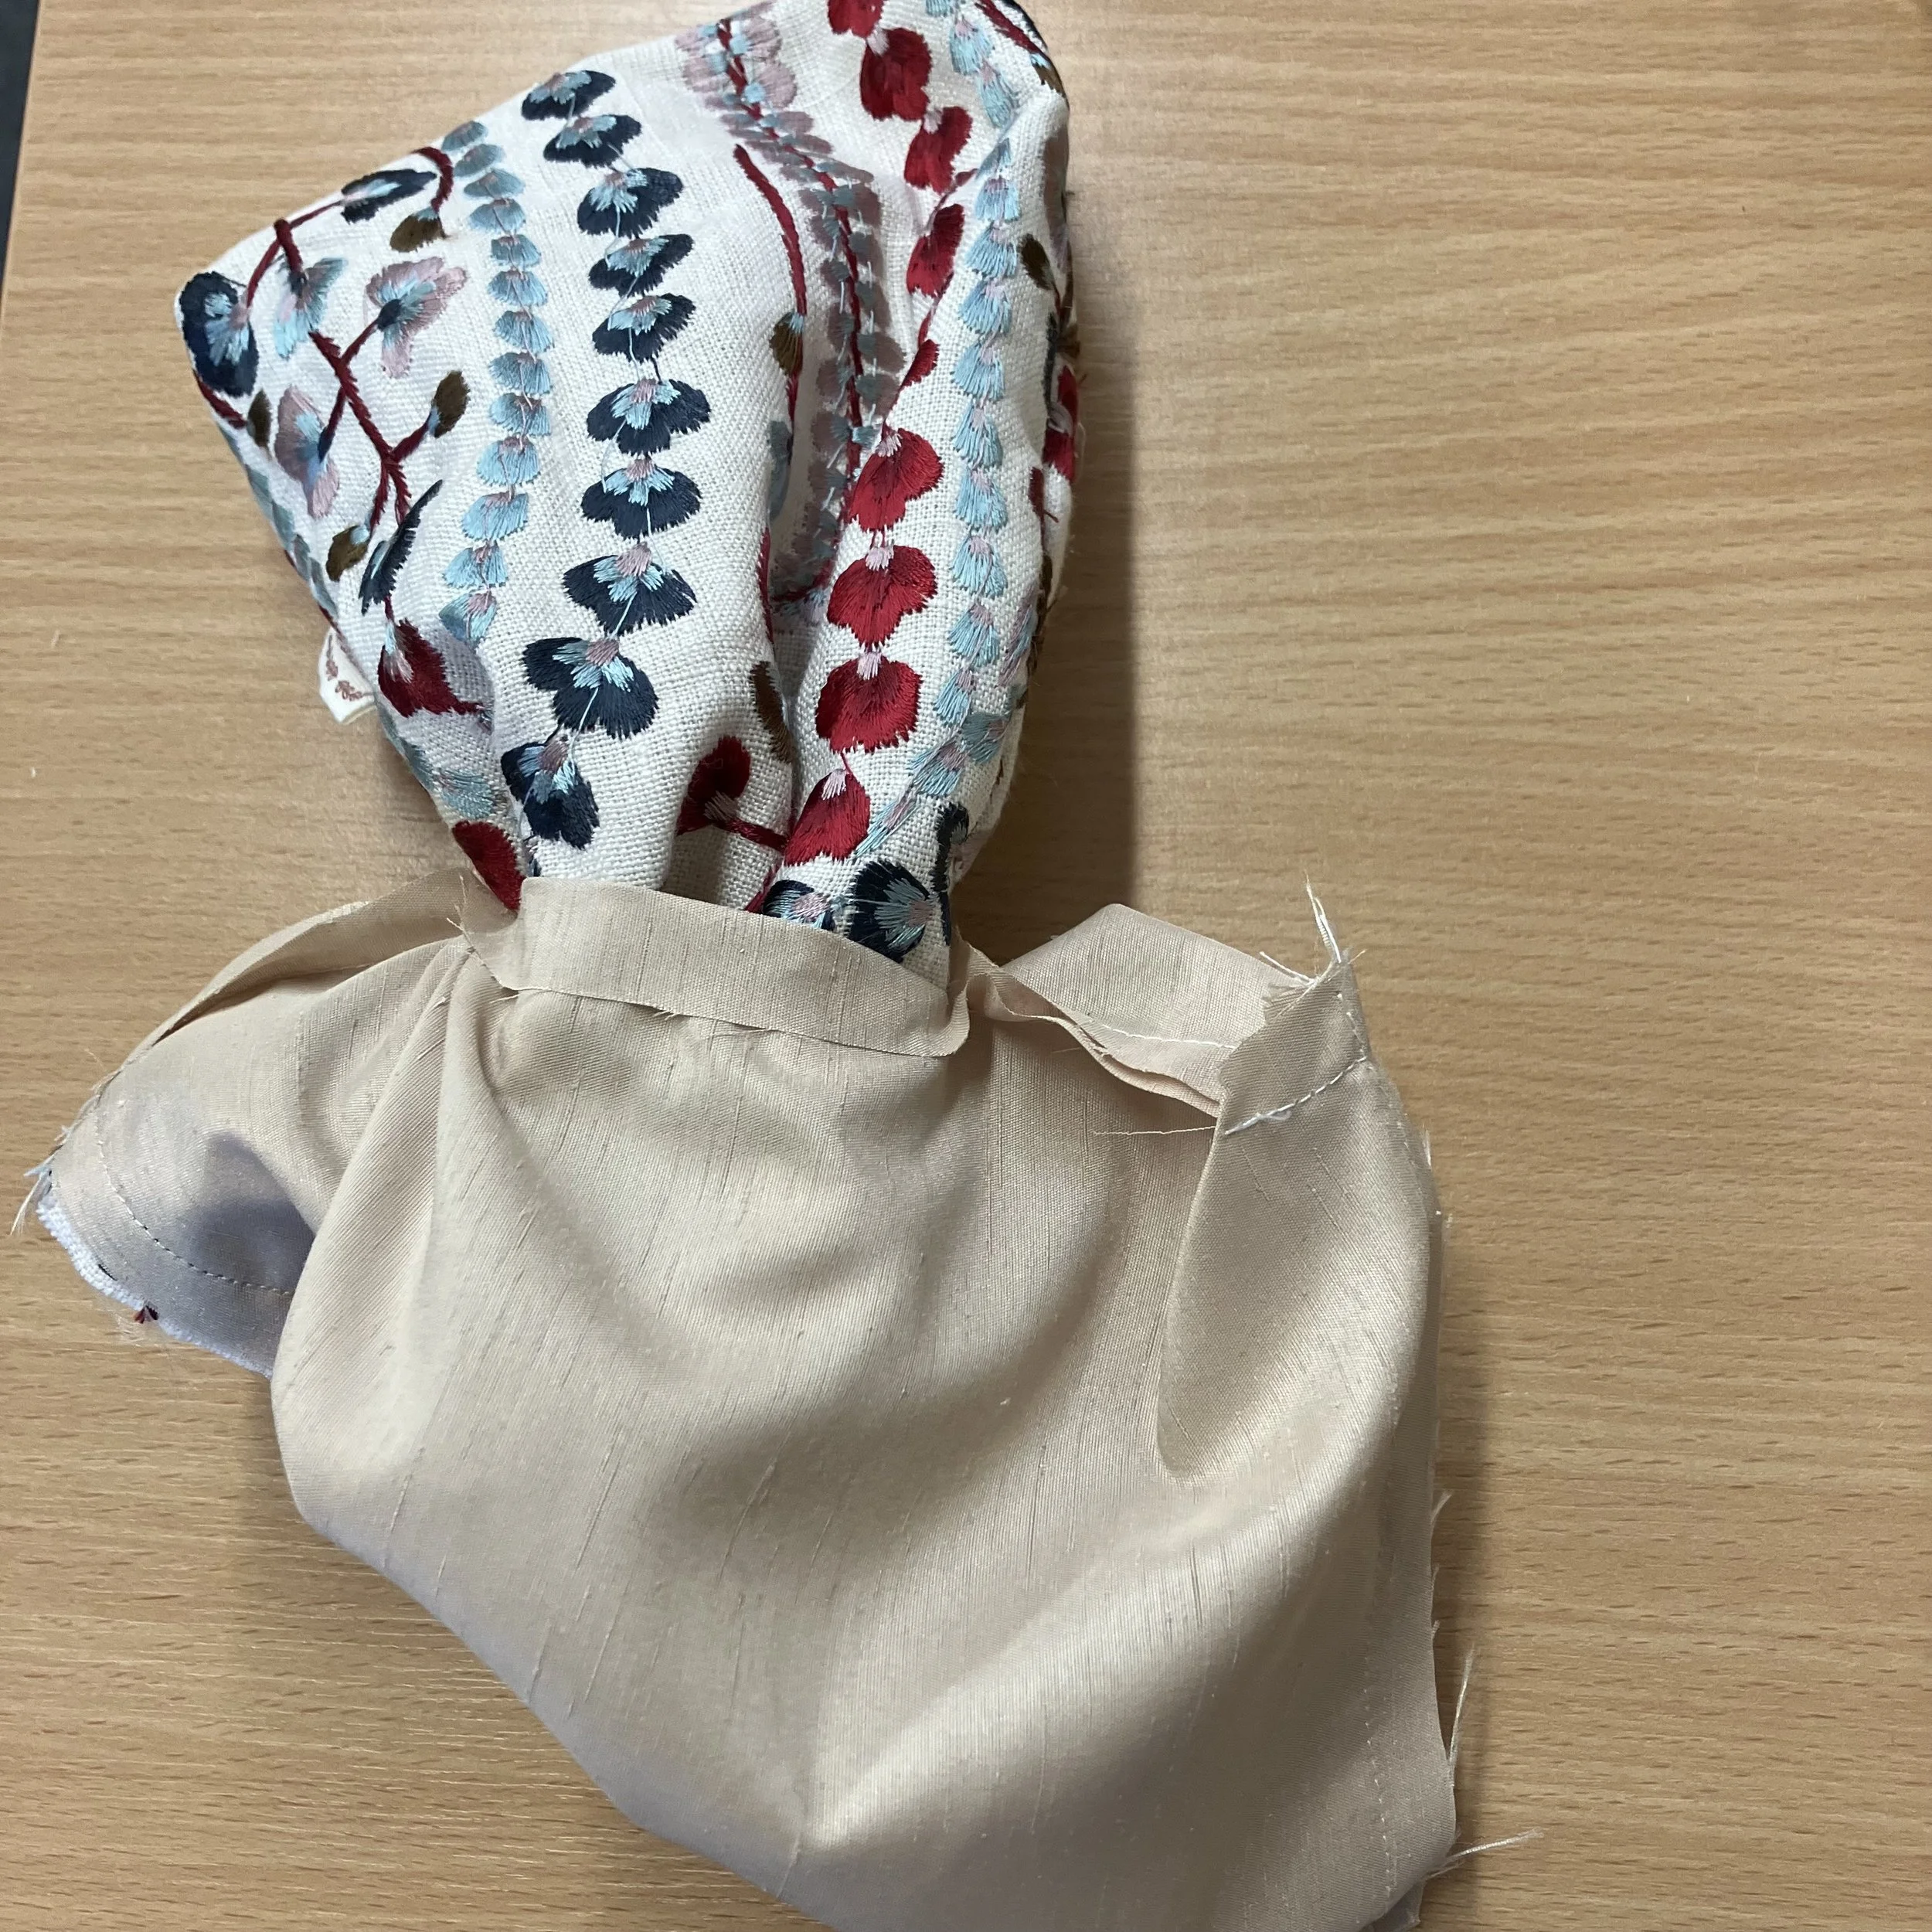
Step 10: Join the Lining & the Main Fabric
Turn your main fabric the right way around & keep the lining inside out, as it was sewn. Place the main fabric inside of the lining & align the side seams, pin & clip in place & then put a few more pins & clips in between. This is where you find out whether you’ve sewn the seam allowances accurately! Ensure that the flap is sitting between the lining & main fabric - you shouldn’t be able to see it at this stage.
If you lengthened you stitch length in the last step, put it back to your normal stitch length (normally 2.5). Remove the tool box of you machine to reveal the free arm & slot the the sleeve over the free arm & sew all around the top edge of the sleeve at 3/8” (1cm) seam allowance.

Step 11: Birthing the Sleeve
Pull the main fabric through the gap that you left in the lining (you did remember to leave a gap didn’t you!)
It will look a hot mess for a while (this is the moment you realise you should’ve left a bigger opening, but I believe in you). Use something pointy (like a chopstick or the back of a pen) to poke out the corners.
Step 11: Sew The Gap
Once the lining is pulled through, pin or clip the gap in the lining together & sew as close to the edge as you dare. This can of course be done by hand. Push everything to the inside, ensuring that the lining sits inside the main fabric & give it a good press.

Step 12: Topstitch for the Fancy Factor
Sew a neat row of stitches around 1/8” away from the edge -lengthen your stitch length to 3/3.5. This is called topstitching, and it makes everything look fancy and polished. Go slow and breathe—you're almost there! Bonus points if your stitches are actually straight.
Step 13: Admire Your Work

Slide your book inside, do a happy dance, and take a million photos because you made this. Then, make another one, because let’s be honest—you probably have more than one book.
Congratulations, you’ve just leveled up in the world of sewing! Who knew protecting books could be this fun? Now, go forth and make all the book sleeves your heart desires! 📚✂️
Bonus Round: Want to Get Fancy?
Add a button and elastic loop to keep your book extra secure.
Use waterproof fabric if you read by the pool or in the bath(or if you’re just clumsy like me).
Sew a pocket on the front for bookmarks, snacks, or emotional support tissues.